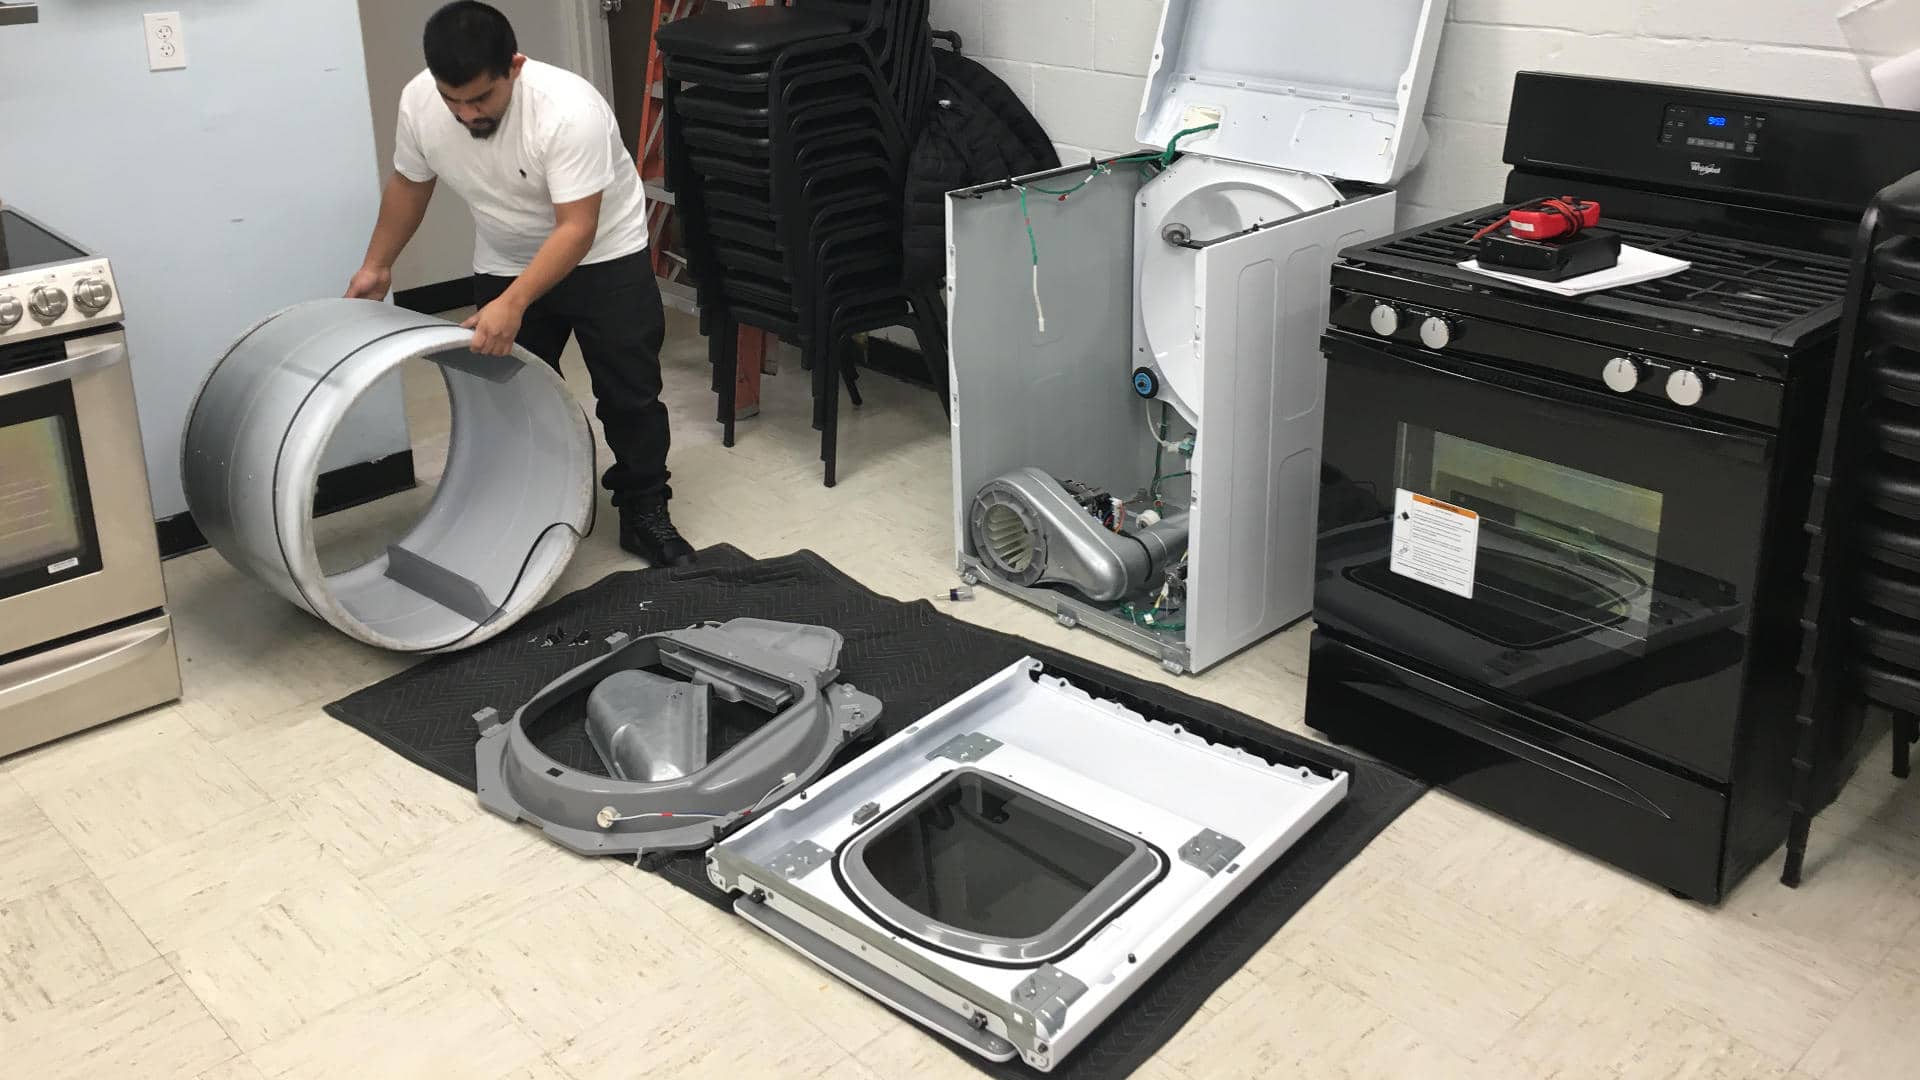
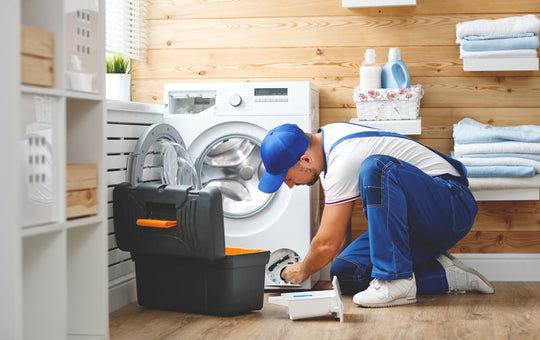
DIY Appliance Repair: When and How to Do It
DIY appliance repair can be a cost-effective solution for minor issues, but it's important to know your limits. While easy fixes are manageable, complex problems often require professional help. This guide covers when to attempt DIY repairs, essential safety tips, and how to recognize when it’s best to call a professional.
DIY Appliance Repair: When and How to Do It
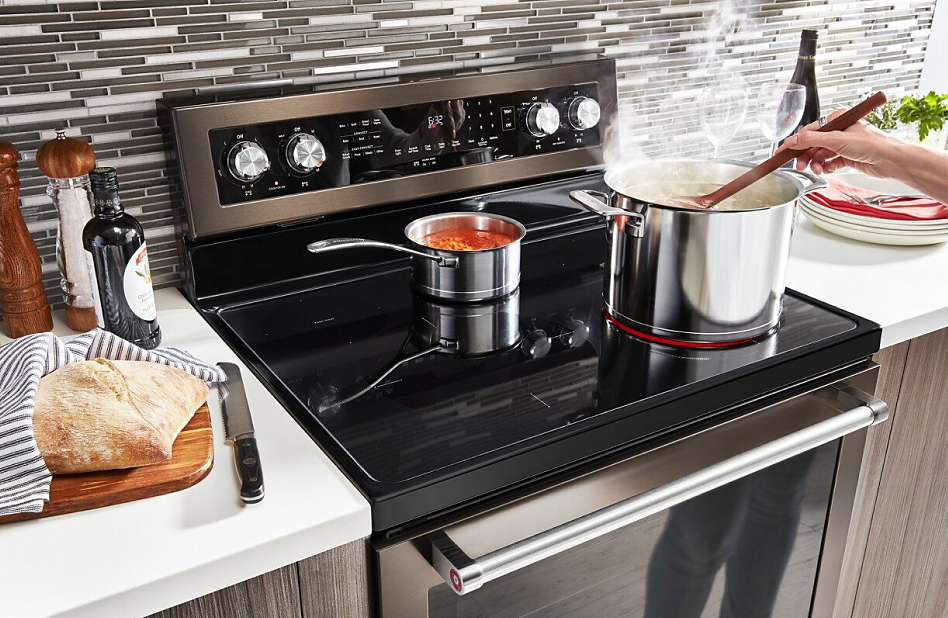
DIY appliance repair can save you time and money, but it’s important to know when and how to tackle the job yourself. For minor issues, such as a clogged dishwasher filter or a refrigerator door that won’t seal properly, simple fixes can often resolve the problem. Easy appliance fixes like cleaning the lint trap in your dryer or replacing a faulty light bulb in your oven are safe and straightforward tasks.
Before attempting any DIY appliance repair, always unplug the appliance and consult the user manual for troubleshooting tips. DIY appliance troubleshooting can help you identify common problems, such as a loose washer hose or a misaligned refrigerator shelf, that don’t require professional assistance. However, if you encounter more complex issues, like electrical problems or motor failures, it’s best to call a professional. Knowing your limits is key to successful DIY repairs, ensuring your appliances are safely and effectively maintained.
Simple Fixes You Can Do Yourself
Taking on DIY appliance repair can be both satisfying and cost-effective, especially when dealing with minor issues that don’t require professional help. Here are some easy appliance fixes you can do yourself:
- Cleaning the Refrigerator Coils
- Unclogging a Dishwasher Spray Arm
- Replacing a Faulty Oven Light
- Resetting a Tripped Circuit Breaker
- Clearing a Dryer Lint Trap
Cleaning the Refrigerator Coils. Dirty coils can cause your refrigerator to work harder and use more energy. Unplug the refrigerator, locate the coils (usually at the back or bottom), and use a coil brush or vacuum to remove dust and debris. This simple task can improve efficiency and extend the life of your appliance.
Unclogging a Dishwasher Spray Arm. If your dishwasher isn’t cleaning dishes properly, the spray arms might be clogged with food particles or hard water deposits. Remove the spray arm and rinse it under warm water, using a toothpick or a small brush to clear out any debris. This DIY appliance repair can restore your dishwasher’s cleaning power.
Replacing a Faulty Oven Light. A burned-out oven light is an easy fix. Make sure the oven is turned off and cool, then unscrew the old bulb and replace it with a new one of the same type. This quick repair makes it easier to monitor your cooking.
Resetting a Tripped Circuit Breaker. If an appliance suddenly stops working, check your home’s circuit breaker. A tripped breaker is a common cause of power loss. Simply flip the switch back to the “on” position, and your appliance should be back in action.
Clearing a Dryer Lint Trap. Regularly cleaning the lint trap in your dryer improves efficiency and prevents potential fire hazards. After each use, remove the lint trap, clean off the lint, and replace it.
By mastering these simple DIY appliance troubleshooting tasks, you can keep your appliances running smoothly and avoid unnecessary service calls.
Tools You Need for DIY Repairs
Undertaking DIY appliance repair is a great way to save money and keep your household running smoothly. To effectively handle easy appliance fixes, having the right tools on hand is essential. Here’s a list of must-have tools for your DIY appliance troubleshooting toolkit:
- Screwdrivers
- Pliers
- Multimeter
- Wrench Set
- Allen Wrenches (Hex Keys)
- Utility Knife
- Nut Drivers
- Flashlight or Headlamp
- Putty Knife
- Digital Camera or Smartphone
Screwdrivers. A set of screwdrivers is indispensable for most DIY appliance repairs. Both flathead and Phillips head screwdrivers are necessary, as appliances often use a mix of screw types. Magnetic screwdrivers are particularly useful, as they help prevent screws from falling into hard-to-reach areas.
Pliers. Pliers are versatile tools that can be used to grip, twist, and pull various components during repairs. Needle-nose pliers are especially useful for reaching into tight spaces, while slip-joint pliers are ideal for gripping larger parts.
Multimeter. A multimeter is essential for diagnosing electrical issues in appliances. This tool measures voltage, current, and resistance, helping you troubleshoot problems like faulty wiring or blown fuses. If you're comfortable working with electrical components, a multimeter is invaluable for safe and accurate diagnostics.
Wrench Set. Adjustable wrenches and socket wrenches are useful for loosening and tightening nuts and bolts found in many appliances. A basic set of wrenches in various sizes will cover most needs, allowing you to handle tasks like replacing parts or adjusting settings.
Allen Wrenches (Hex Keys). Many appliances use hex screws, which require Allen wrenches for removal and installation. A set of Allen wrenches in various sizes is important for handling these types of screws.
Utility Knife. A sharp utility knife is helpful for cutting insulation, stripping wires, or trimming gaskets. It's a versatile tool that comes in handy during various stages of repair.
Nut Drivers. Nut drivers are similar to screwdrivers but are specifically designed to turn nuts and bolts. These tools are essential for disassembling and reassembling parts in appliances like washers, dryers, and refrigerators.
Flashlight or Headlamp. Good lighting is crucial when working inside appliances or in dimly lit areas. A small flashlight or headlamp allows you to see clearly, making it easier to identify components and complete repairs safely.
Putty Knife. A putty knife is useful for prying open panels, removing old gaskets, or scraping away debris. It’s a handy tool to have for various minor tasks during appliance repairs.
Digital Camera or Smartphone. Before disassembling any appliance, take pictures of how parts are assembled. This visual reference will make it easier to reassemble everything correctly once the repair is complete.
By equipping yourself with these essential tools, you’ll be well-prepared to tackle a range of DIY appliance repairs. Whether you’re fixing a loose part, unclogging a drain, or troubleshooting an electrical issue, having the right tools on hand makes the process smoother and more efficient. Investing in a quality toolkit can save you time and money by allowing you to perform easy appliance fixes on your own.
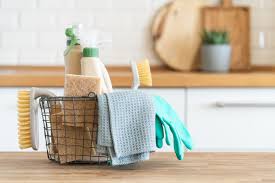
Safety Precautions
When undertaking DIY appliance repair, safety should always be your top priority. Even easy appliance fixes can pose risks if proper precautions aren’t taken. Here are essential safety guidelines to follow:
- Unplug the Appliance
- Use Proper Tools
- Wear Safety Gear
- Avoid Wet Conditions
- Follow the Manual
- Beware of Sharp Edges
- Know Your Limits
Unplug the Appliance. Before beginning any repair, always unplug the appliance from the power source. This simple step prevents electrical shocks and ensures your safety while working on the device. If the appliance is hardwired, turn off the power at the circuit breaker.
Use Proper Tools. Ensure you have the right tools for the job. Using the wrong tool can damage the appliance and increase the risk of injury. For example, using a non-insulated screwdriver for electrical components can lead to shocks.
Wear Safety Gear. Always wear appropriate safety gear, such as gloves and safety goggles. Gloves protect your hands from sharp edges, while goggles shield your eyes from debris or accidental splashes from cleaning solutions.
Avoid Wet Conditions. Never attempt repairs in wet or damp conditions, as water increases the risk of electrical shock. Make sure your workspace is dry, and avoid touching any electrical components with wet hands.
Follow the Manual. Consult the appliance’s user manual for specific troubleshooting tips and repair instructions. The manual often contains important safety warnings and guidelines tailored to your appliance.
Beware of Sharp Edges. Many appliances have sharp edges, especially around metal panels. Handle these parts carefully to avoid cuts or injuries. Use a putty knife or similar tool to gently pry open panels when necessary.
Know Your Limits. If you’re unsure about any repair, especially those involving complex electrical components, it’s best to consult a professional. DIY repairs should only be attempted if you’re confident in your ability to perform them safely.
By following these safety precautions during DIY appliance troubleshooting and repairs, you can minimize risks and ensure a safe and successful repair process.
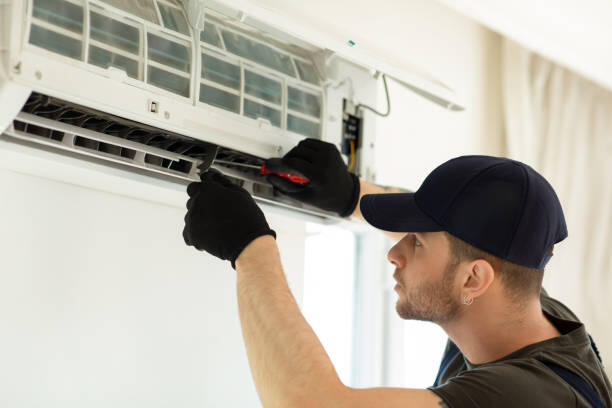
Knowing When to Seek Professional Help
While DIY appliance repair can save time and money, it’s important to recognize when a problem is beyond your expertise. Attempting to fix complex issues without the necessary skills can lead to further damage and potential safety hazards. Here’s how to know when it’s time to call in a professional.
- Electrical Problems
- Gas Appliances
- Persistent Problems
- Appliance Under Warranty
- Lack of Confidence or Tools
Electrical Problems. If your appliance issue involves electrical components, such as wiring, circuit boards, or the motor, it’s best to seek professional help. DIY appliance troubleshooting can identify these issues, but fixing them requires specialized knowledge and tools. Electrical repairs carry a high risk of shock or fire if not handled correctly.
Gas Appliances. Repairs involving gas appliances, like stoves or dryers, should always be left to professionals. Gas leaks can be extremely dangerous, leading to explosions or poisoning. If you smell gas or suspect a leak, immediately turn off the gas supply and contact a qualified technician.
Persistent Problems. If you’ve attempted easy appliance fixes and the problem persists, it’s a sign that the issue may be more complicated than it appears. Recurring issues could indicate underlying problems that require a professional diagnosis and repair.
Appliance Under Warranty. If your appliance is still under warranty, attempting a DIY repair could void the warranty. It’s important to check the warranty terms before starting any repair. Manufacturers often require repairs to be performed by authorized technicians to maintain the warranty coverage.
Lack of Confidence or Tools. If you’re unsure about your ability to complete a repair safely or if you lack the necessary tools, it’s better to consult a professional. Attempting a repair without the right knowledge or equipment can lead to mistakes that may cause more harm than good.
Recognizing when to seek professional help is crucial for ensuring your appliance is repaired correctly and safely. By knowing your limits and calling in an expert when needed, you can avoid costly mistakes and ensure your appliance continues to function properly.