Common Problems of WhirlPool Washing Machines and How to Fix them
In this comprehensive guide, we'll explore the most common problems with Whirlpool washing machines, including the causes, symptoms, and effective solutions. From dealing with a noisy washer to addressing troublesome leaks, you'll get detailed insights into how to troubleshoot these issues.
Based on my years of experience dealing with washing machine repairs, I'll provide you with practical, step-by-step guidance to help you fix your washer. But remember, although it's empowering to solve minor issues independently, some problems may require professional assistance. The aim here is to help you understand what's going on with your machine, not to turn you into a certified appliance technician overnight!
So, whether you're a novice attempting to fix your washer for the first time or a seasoned homeowner who's experienced these issues before, this guide is designed to assist you. Just grab your toolset, roll up your sleeves, and let's dive into the nitty-gritty of Whirlpool washer troubleshooting.
Preparing for the Repair
Before we embark on this journey of troubleshooting and repairing your Whirlpool washing machine, it's important to stress the necessity of preparation and safety. Remember, we're dealing with an electrical appliance that also connects to your home's water system, and mishandling can lead to damage, or worse, injury.
Know when to DIY and when to call a Pro
Firstly, let's clarify the difference between minor and major problems. If your machine is not turning on, making unusual sounds, or leaking water, these are usually issues that you can diagnose and fix yourself with some guidance (like this blog!). On the other hand, if your washer isn't spinning, or the drum isn't draining, these may indicate more complex issues that would require the expertise of a professional technician.
In my years of experience, I've seen well-intentioned DIY repairs turn into costly mistakes because of a lack of knowledge about the complexity of the problem. It's okay not to be an expert in everything, so when in doubt, don't hesitate to call for professional help.
Safety First
Next, let's talk about safety. Unplug the washer from the electrical outlet before you start any repairs. You'd be surprised how often this simple step is overlooked! Also, remember to turn off the water supply to avoid flooding.
When working on your machine, wear protective clothing - thick gloves to protect your hands from sharp edges and safety glasses for your eyes. Additionally, keep your work area well-lit so you can clearly see what you're doing.
Preparing your Washer
Now that we've covered the basics of when to repair and how to do it safely, let's get your washer ready. Clear any laundry or debris from the machine, and if possible, move the washer away from the wall for easy access to its parts. Having a bucket and towels on hand is also a good idea, especially if you're dealing with leaks.
Troubleshooting a Leaking Washer
Leaking is one of the most common issues that plague washing machines, and Whirlpool washers are no exception. This predicament can turn a routine laundry day into a messy nightmare, not to mention the water wastage and potential damage to your floors. But don't fret; I've got your back! Based on my personal experience and expertise, we'll navigate this problem together, step-by-step.
Checking the Waterline
First things first, let's check the waterline, as this is a common source of leaks. Inspect the hose connections at the back of your washing machine - one for cold water and one for hot. Look for signs of loose connections, cracks, or splits in the hoses. Sometimes, the issue can be as simple as a loose connection which can be resolved by tightening it.
However, if your hoses are damaged, they'll need to be replaced. Don't worry, this task isn't as daunting as it seems! You can find replacement hoses at most home improvement stores, and swapping them out is as simple as disconnecting the old hoses and screwing on the new ones. Remember to turn off your water supply before starting this process!
Replacing the Water Pump
Next on our list is the water pump, a crucial component that drains water from your washer. If it's not working properly, it could lead to leaks. To check it, you'll need to locate it - it's typically at the bottom of your washer and is attached to the drain hose. Look for signs of damage or leaks.
If your pump is leaking, you'll need to replace it. Again, this might sound intimidating, but it's a fairly straightforward process. First, make sure to unplug your washing machine and disconnect the water supply. Then, remove the pump, which is typically secured by clips or screws. Replace it with a new one and reconnect everything. Be sure to follow the instructions provided with the new pump for best results.
Checking the Door Gaskets
Finally, let's check the door gaskets. The gasket is the rubber seal inside the door that prevents water from leaking out of your washing machine. Over time, this seal may wear out or get damaged, which could lead to leaks.
Inspect the gasket carefully for any signs of wear and tear, like cracks or holes. If you find any, you'll need to replace the gasket. Although this may seem a bit challenging, with a bit of patience, it's completely doable. You'll need to remove the old gasket, typically held in place by a metal clamp, and then fit the new one. Remember, it's essential to ensure the new gasket is fitted securely to prevent future leaks.
By now, you should have a good understanding of how to tackle a leaking Whirlpool washer. While these tasks may seem daunting at first, I assure you, they are manageable with a bit of patience and the right tools. Still, if you're feeling unsure, there's no harm in calling a professional.
Troubleshooting a Noisy Washer
A peaceful home is a joyful home. But when your Whirlpool washing machine starts to create unusual sounds, it can disrupt your tranquility and signal that something's wrong. Noise from your washer can be more than just a nuisance; it can be an early sign of a potential problem that could turn into a serious issue if ignored. But worry not! I'm here to help you identify these sound signals and provide you with effective solutions.
Loud Noise and Vibration
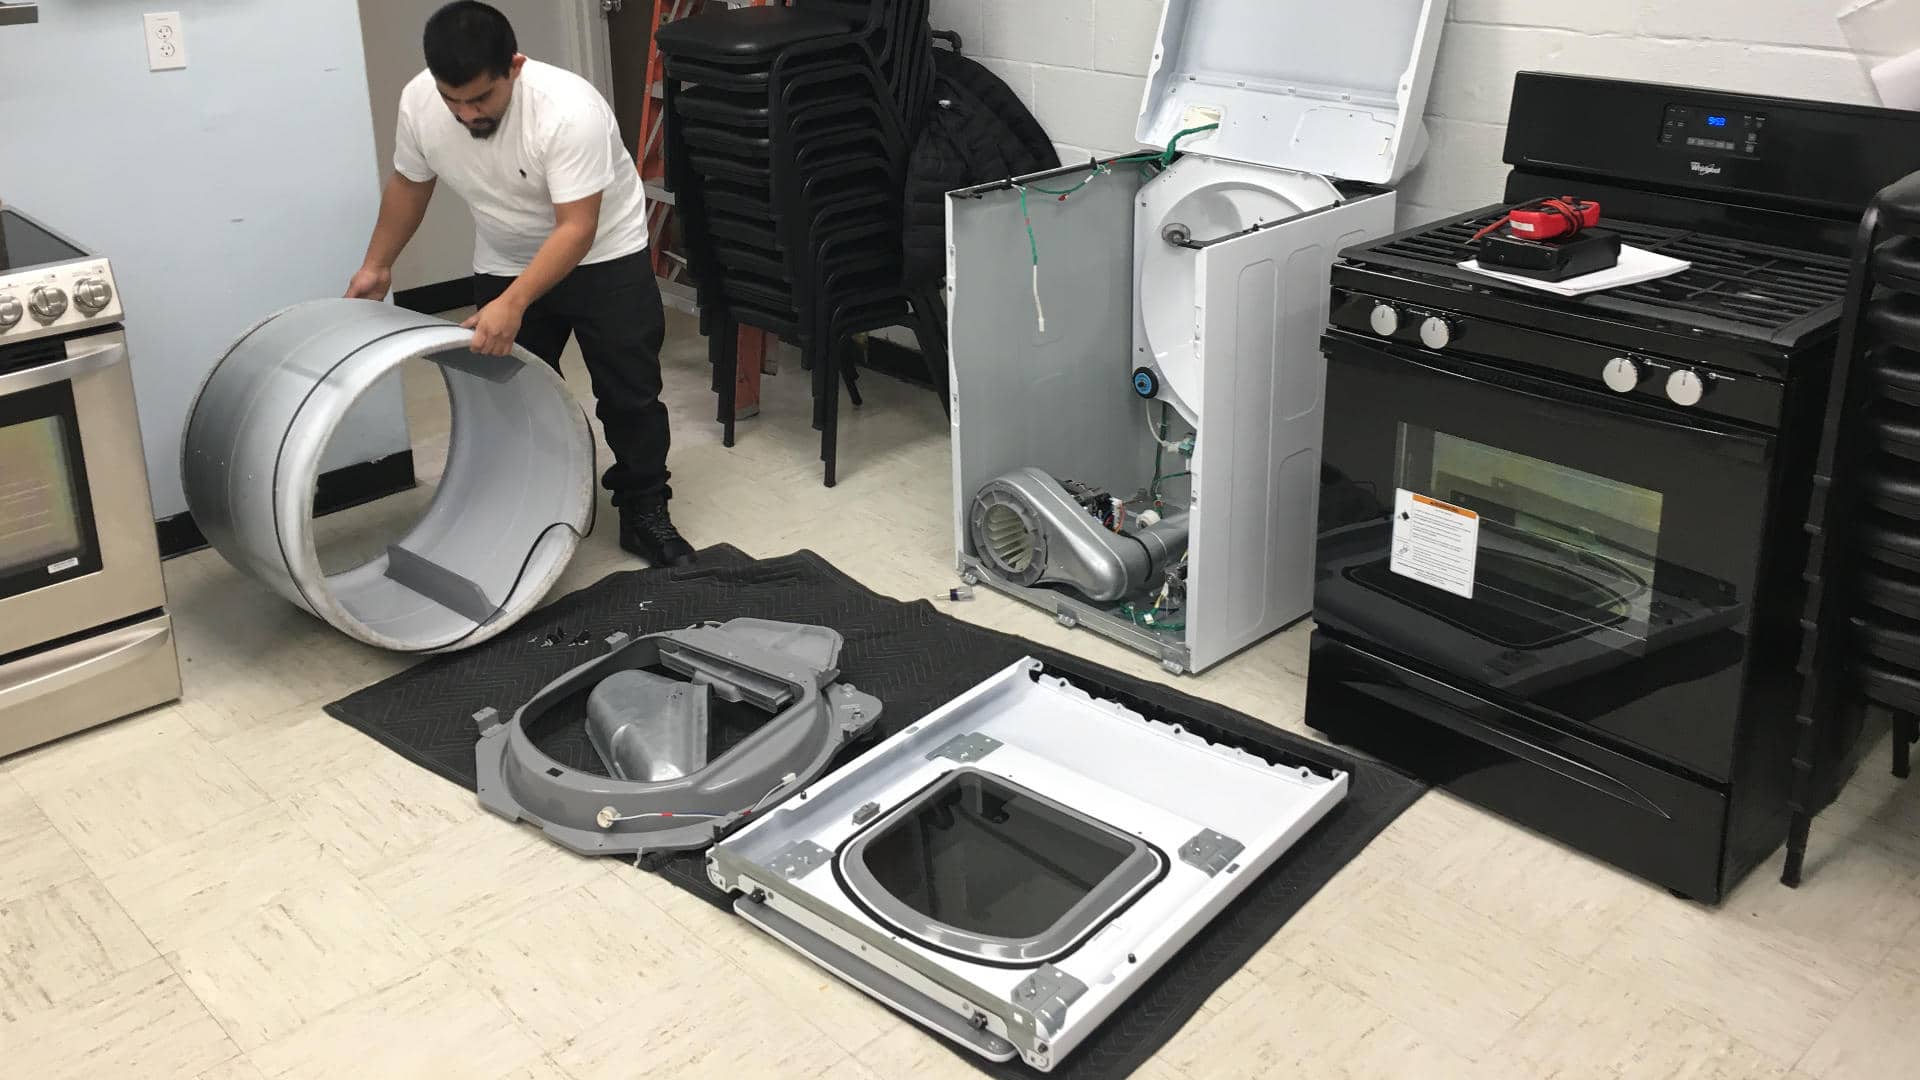
Your washing machine should not sound like it's preparing for a rocket launch. If you hear loud noises and feel excessive vibrations, this is often a sign of faulty bearings. These components allow the tub to move freely, but when worn out, they can cause excessive noise and vibration.
Bearings are located deep within the machine and replacing them is quite a complex task, often involving disassembling a good part of the washing machine. This is a job best left to the professionals. Don't try this repair yourself; you risk causing more harm than good. Call in an expert who can address this problem safely and efficiently.
Worn-Out Washer Belt
If your Whirlpool washer emits a high-pitched squeal or squeak, it could be due to a worn-out washer belt. The belt transfers the motor's rotation to the washer's drum. Over time, it can wear out or become loose, resulting in noise during operation.
Fortunately, replacing a washer belt isn't overly complicated. First, unplug the machine and disconnect the water supply. Then, access the back of the machine and locate the belt. If it appears frayed, cracked, or stretched out, it's time to replace it.
Slide the old belt off and replace it with a new one, ensuring it fits snugly. When doing this, be cautious not to overtighten the new belt, as this can cause unnecessary wear and tear. After replacing the belt, give your washer a test run to ensure the noise has disappeared.
Troubleshooting a noisy Whirlpool washer doesn't have to be a chore. With a keen ear and a bit of hands-on action, you can restore the peace and quiet in your home. However, remember, if you're uncertain or uncomfortable performing any of these tasks, it's always better to call in a professional.
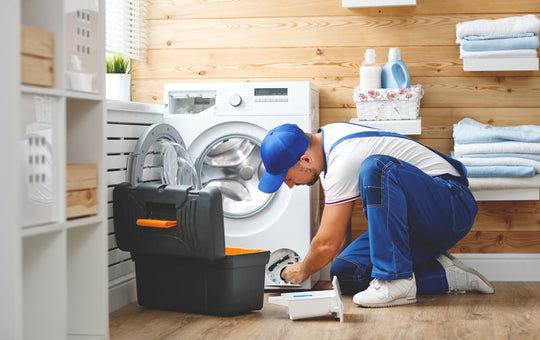
The Benefits of Professional Repair Services
DIY fixes can be gratifying and economical, but not every washing machine issue is a simple fix. At times, the problem can be complex and require the expertise of a trained professional. In my years of repairing washing machines, I've learned that professional help can be invaluable, and I'd like to share with you some of the reasons why.
Preventing Further Damage
Professional technicians have the training and experience to identify and fix issues with your Whirlpool washer quickly. They understand the intricate workings of the machine, which means they're less likely to cause further damage. On the other hand, an inexperienced DIY enthusiast could unknowingly turn a minor problem into a major one, leading to costly repairs or even a full replacement.
Preserving Warranty Coverage
If your washer is still under warranty, DIY repairs could void your coverage. Most manufacturers' warranties stipulate that any repairs should be performed by certified professionals. If you encounter problems while your machine is under warranty, it's always best to call in a pro. This way, any repairs are likely to be covered, saving you from out-of-pocket expenses.
Saving Time and Effort
While it's possible to learn how to fix many common washer issues, this takes time and effort. A professional can diagnose and resolve problems more efficiently, saving you the time and hassle of figuring it out yourself. They're also equipped with the necessary tools and parts to fix the issue in a single visit, reducing downtime and getting your laundry routine back on track quickly.
Ensuring Safety
Lastly, but most importantly, safety should never be compromised. A professional repair technician understands the safety protocols to follow when repairing an electrical appliance. They know how to mitigate risks like electrical shocks and water damage, providing peace of mind that the repair will be carried out safely.
In a nutshell, professional repair services bring expertise, efficiency, safety, and the preservation of your warranty. While it may be tempting to fix every issue yourself, remember that sometimes, calling in the pros is the most practical and economical solution
FAQs
To round off our in-depth look at Whirlpool washing machine issues, let's address some of the most frequently asked questions that come up during the repair process. From finding error codes to resetting your washer, I've got the answers you need, backed by years of hands-on experience.
How can I find error codes on my Whirlpool washer?
Whirlpool washers come equipped with a diagnostic feature that provides error codes when something goes wrong. To access these codes, you'll need to enter the diagnostic mode. You can do this by selecting any three different keys (except POWER), and sequentially pressing them in a 1-2-3 order, twice. Once you're in the diagnostic mode, your washer will display the error codes for you to diagnose the problem. To figure out what these error codes mean, check out our helpful guide.
How do I reset my Whirlpool washing machine?
If your washer is acting up, a quick reset might solve the problem. To do this, simply unplug your washing machine from the wall socket, wait for a minute, and then plug it back in. This will reset your washer's computer and could resolve minor software issues.
How do I use the diagnostic mode on my Whirlpool washer?
To use the diagnostic mode on your Whirlpool washer, you'll first need to make sure the machine is in standby mode, which means the machine is plugged in and all the indicator lights are off. Next, select any three different keys (except POWER) and press them in a 1-2-3 order twice. This will take your washer into diagnostic mode, where you can navigate through the menu to find and solve issues.
I hope you've found this guide helpful and that it aids you in maintaining a healthy, long-lasting relationship with your Whirlpool washer. Remember, while DIY repairs can be rewarding and cost-effective, it's crucial to know when to call in a professional to ensure the job is done safely and correctly.